How To Make Colloidal Silver
Detailed Step-By-Step Instructions for Using your SILVERengines proton
You’ve bought the most sophisticated and easiest to use colloidal silver generator on the planet.
Now it’s time to put it to work.
There are more details than you might ever need to see on this page. It’s as close as we can come to “holding your hand” while you set up and use your proton for the very first time.
Please study this page very carefully the first time you use your proton.
Once you’ve seen how simple it is to set up and how easy it is to use, you’ll be a “proton expert.”
You’ll be able to “make a batch” of colloidal silver with no more than a couple of minutes of setup and cleanup every time.
Watching this short video will introduce you to your proton:
Please follow these instructions very carefully:
Your proton comes in its own Mason jar.
Let’s start by taking a closer look at what’s in the jar and how to use it.
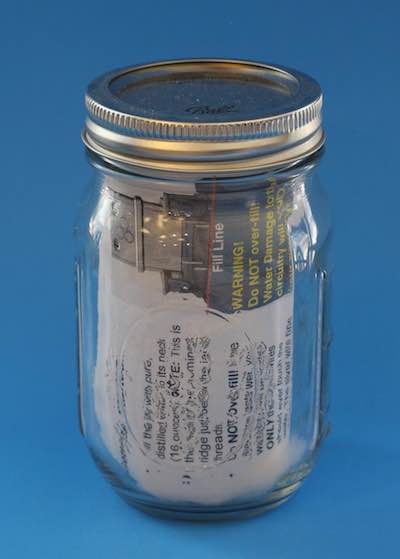
Rather than waste your money on a fancy cardboard box to throw away, your SILVERengines proton is packed in a 16 ounce Mason jar. All the parts fit neatly inside. This is convenient for travel. Just dry the inside of the jar thoroughly before re-packing it.
When you first open your proton, you’ll find some fluffy, cotton-like packing material that may be discarded. It’s there to protect your proton from shipping damage. The proton itself is taped to a card that serves a dual purpose; it has some basic printed instructions and illustrations, and it also keeps the proton from jostling around in transit. even so, be sure to straighten the silver rods as shown in the picture in case they got bent.
The Mason jar is glass. It has a metal lid with a rubber seal. Although not initially necessary, both may be washed with hot soapy water, and are “dishwasher safe.” After long use, some silver may “plate” to the inside surface of the jar. If and when you do choose to wash the jar, rinse it out with a few ounces of distilled water to remove any detergent residue.
What comes in the jar?
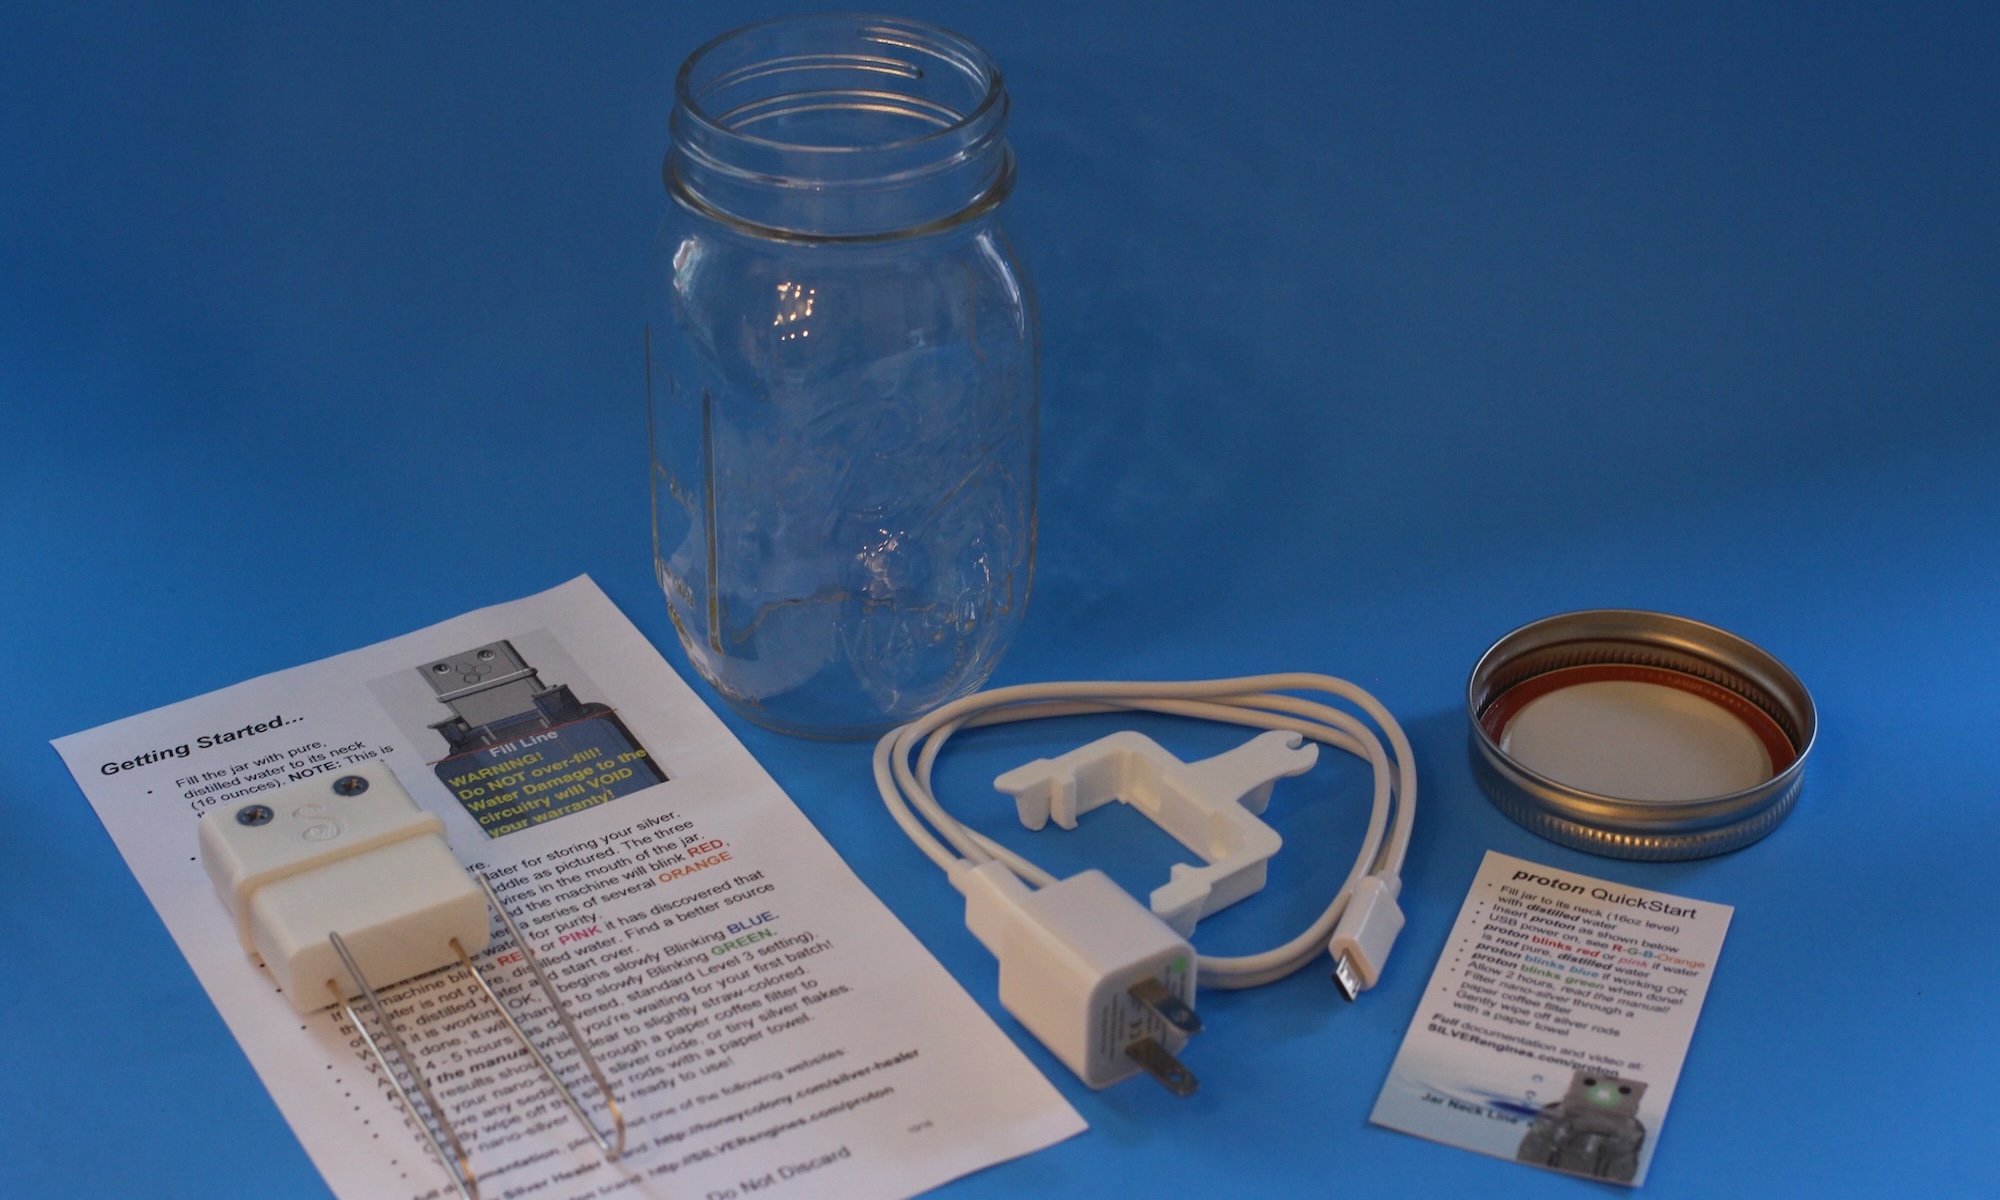
When you unpack the Mason jar, you will find everything pictured here (except the small card, now obsoleted by the large instruction card).
Note: Printed material and detailed shapes may vary slightly from the photos, as we are constantly updating to provide you with the best technology and documentation.
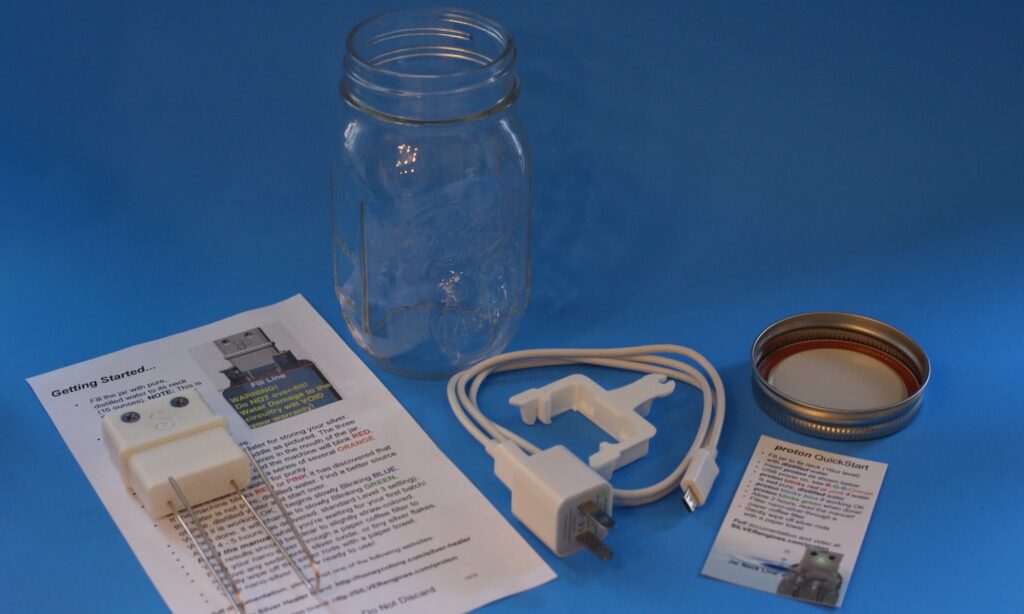
This is everything you’ll need except distilled water and electricity:
- The Mason jar and lid
- A half-sheet of “Quick Start” instructions printed on card stock
- One USB power brick and micro-USB cable
- One small saddle/holster to support the proton above the jar
Set aside the paperwork and, if you wish, you may wash the jar with hot soapy water by hand or in your dishwasher (the first time you use it only; again, much later, if you want to remove a silver film build-up from the inside of the jar). Give the jar a final rinse with some distilled water to flush out any soap residue.
It’s not necessary to clean the jar after every use, because it has been filled with silver solution which sterilizes it during each use.
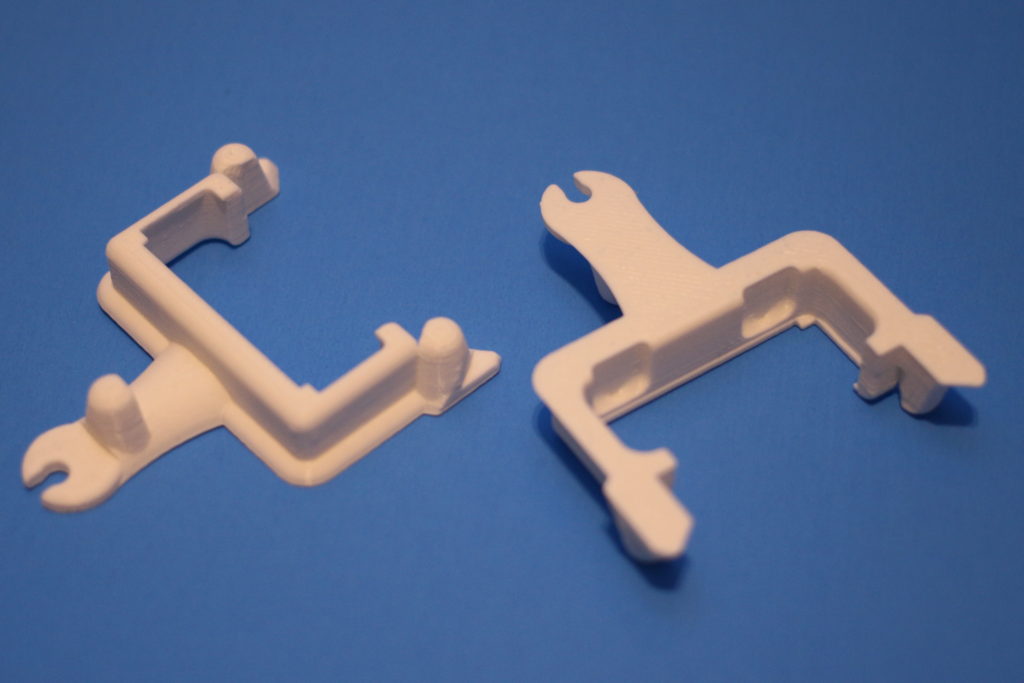
What’s this little plastic thing?
This is a closeup of two of the saddles. (Note: Only one saddle comes in the jar, but two are shown here so you can see both top and bottom.
The saddle on the left is upside-down. Notice that it has three “prongs” that end in rounded tips. These three prongs are designed to hold the saddle centered in the mouth of the Mason jar.
The saddle on the right is right-side up. The top of the saddle is flat. Notice at the back of the saddle are two notches. These notches are designed to allow space for the hex screws that hold the pure silver wires securely in place up against the proton circuit board.
Notice the little “clip” at the far back of the saddle. This is to hold the USB power wire in place and keep it out of the way.
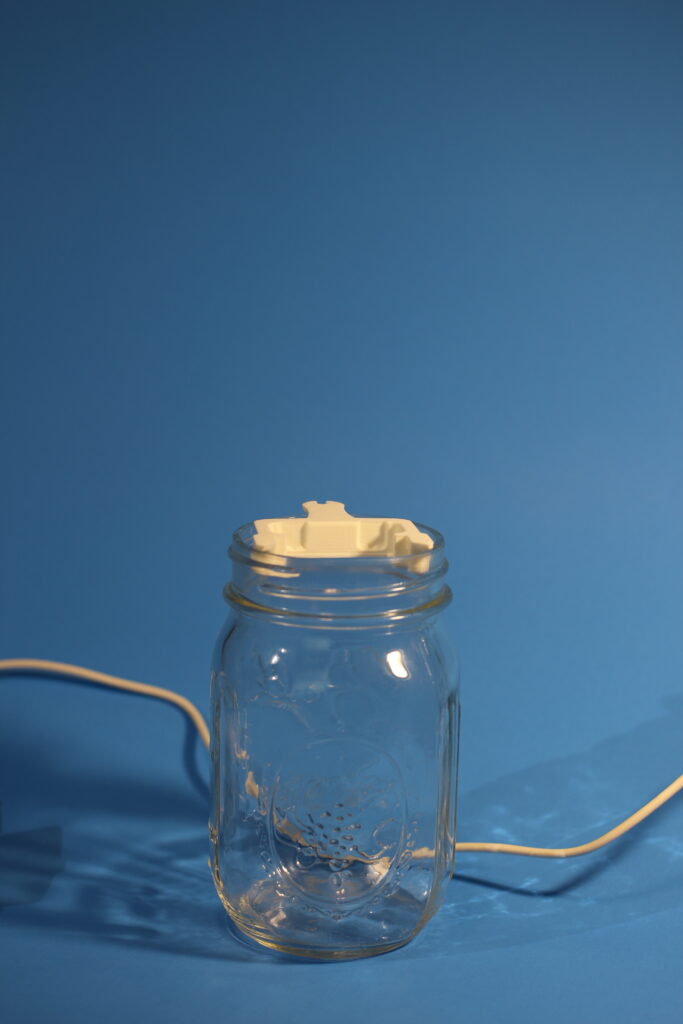
How the saddle fits in the jar.
In this next photo, we’ve placed the saddle in the neck of the Mason jar. Notice that the flat side is up and the three points are down inside the lip of the jar, holding the saddle centered.
Notice also that at the back of the saddle, there are two “notches” or depressions. These are to accommodate the bumps on the back of the proton case where the screws that hold the silver wires go.
Please also notice that at the bottom of the threaded neck there is a glass ridge that goes all the way around the jar. Just below the glass ridge, the jar blooms outward. When you fill the jar to the ridge, it holds about 16 ounces.
This glass ridge indicates the proper level for filling your jar with water. If you fill it lower than this level, it will affect the processing time of your nano silver, and you won’t be using all of your silver rods.
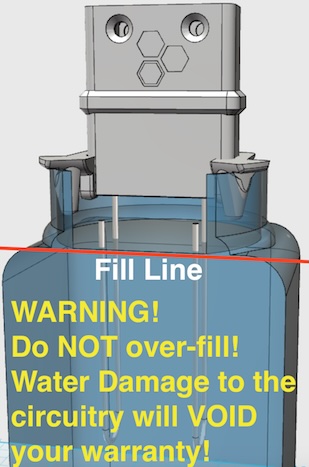
CAUTION: If you fill the jar higher than the bottom of the neck, you could get your proton wet, damaging it and voiding the warranty.
You’ll know you have it right if only the silver wires touch the water, and if the tips of the wires are slightly (about 1/8th inch) above the surface of the water.
Next, we’ll see how the proton fits in the saddle.
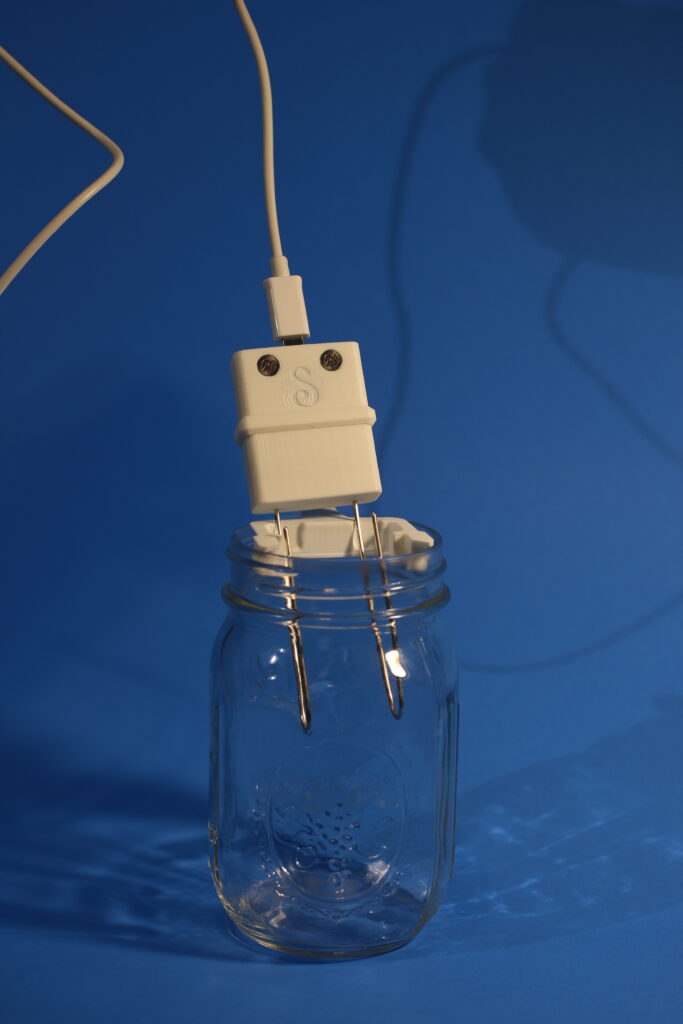
Placing the proton in its saddle.
Here you can see the proton being lowered into its saddle.
As you lower the proton into the saddle, note that the “bumps” at the back of the case fit smoothly and easily into the supporting saddle because of the presence of the two notches at the back of the saddle.
We have been amazed at some of the “creative” ways that customers have managed to assemble the proton and the saddle. Please pay attention to these pictures, because there is only one correct way for the proton to fit in the saddle.
It is possible if misassembled to get the proton case wet, voiding the warranty. That’s why we emphasize and illustrate how it ought to go together, and why we’ve asked you to pay close attention the very first time.
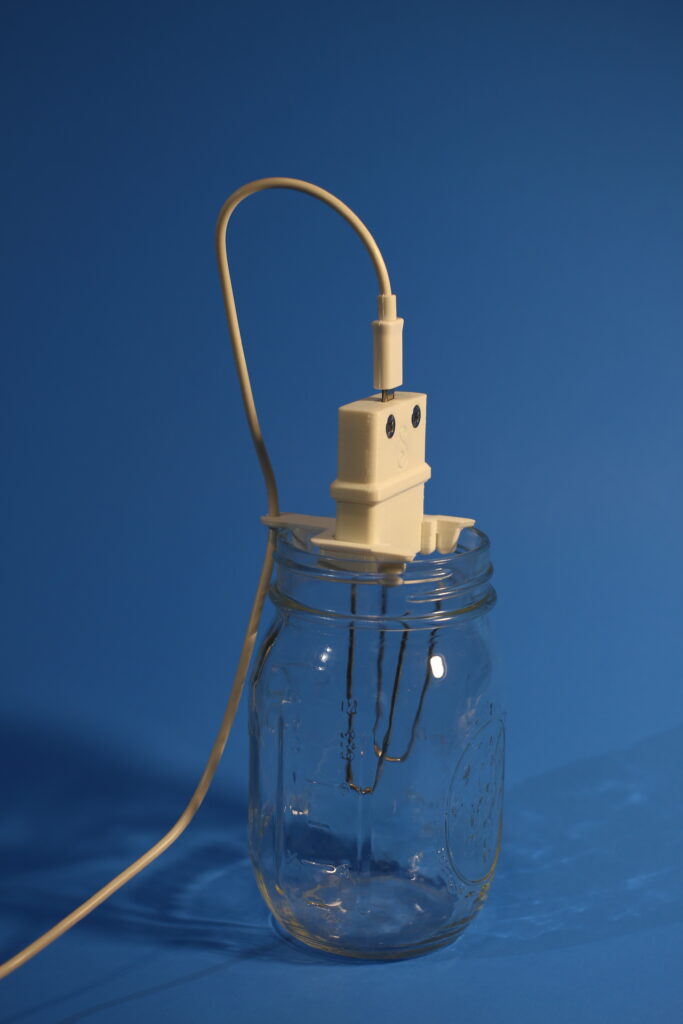
Taming the power cord.
In this next photo, the proton is properly seated in its saddle, and the saddle is properly situated in the mouth of the Mason jar.
Notice that the USB power wire has been inserted into the little “clip” at the far back of the saddle. This is to help keep it out of the way. If the USB wire is too stiff, you may also wish to place a rubber band around the jar to help hold the wire in place.
When properly seated in the Mason jar as pictured here, and when the jar is filled to the proper level – to the ring at the bottom of the neck of the jar (see the photos that follow), then the proton is suspended safely above the water level. Only the silver wires touch the water.
Once you are sure that you’ve assembled your proton correctly, please remove it from the jar and lay it on the table so that you can fill the jar with pure, distilled water.
A Few Words About Distilled Water
Please note that it is essential to use DISTILLED Water with your proton.
NOT purified water. NOT reverse osmosis (R/O) water. NOT spring water. NOT filtered water.
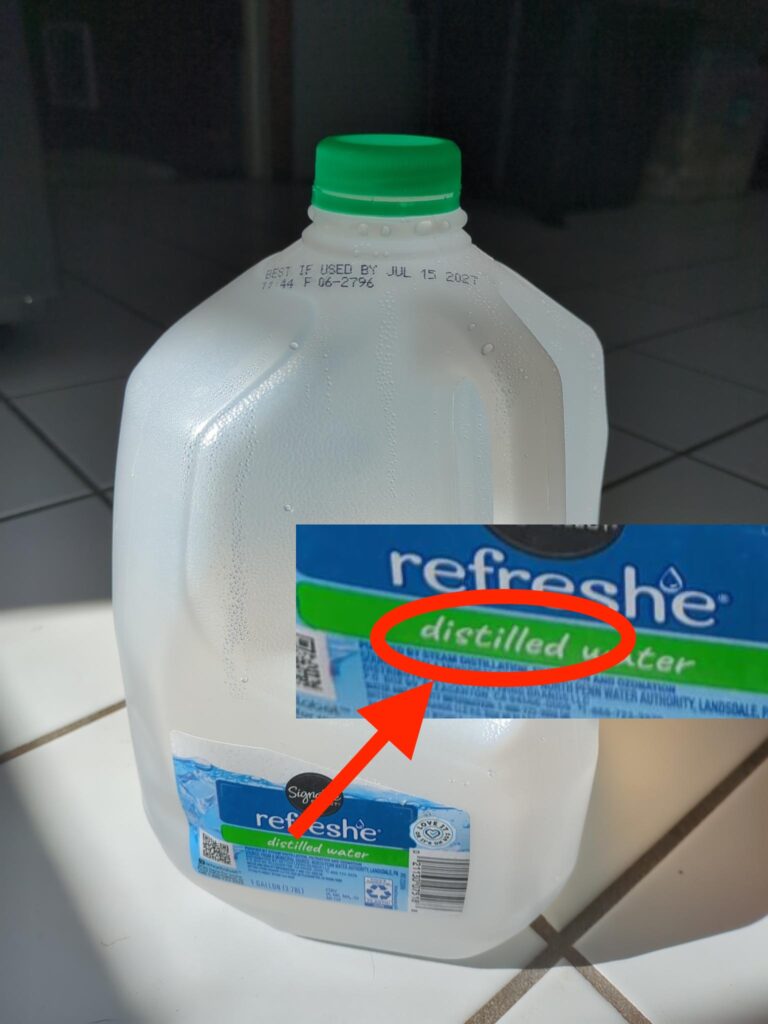
DISTILLED Water ONLY!
At the beginning of every nano silver batch, your proton tests the quality of the water you are using. If the water contains any minerals or chemicals, making it at all conductive, your proton will detect the contaminants and refuse to operate.
Always start your proton in the jar.
This is for your safety! If there are minerals, salts, chloride, or other chemicals in the water, the silver may combine with those contaminants and produce silver salts or silver chloride. While not dangerous, these compounds of silver are not beneficial for you.
For your own safety and well being, do not attempt to operate your proton in anything but pure, distilled water. If the proton detects any conductive contamination in the water, it will begin rapidly blinking red or pink (see below) and will not operate.
Filling the Mason jar with distilled water.
Now that your proton is properly assembled in its saddle, fill the Mason jar to the bottom of the neck.
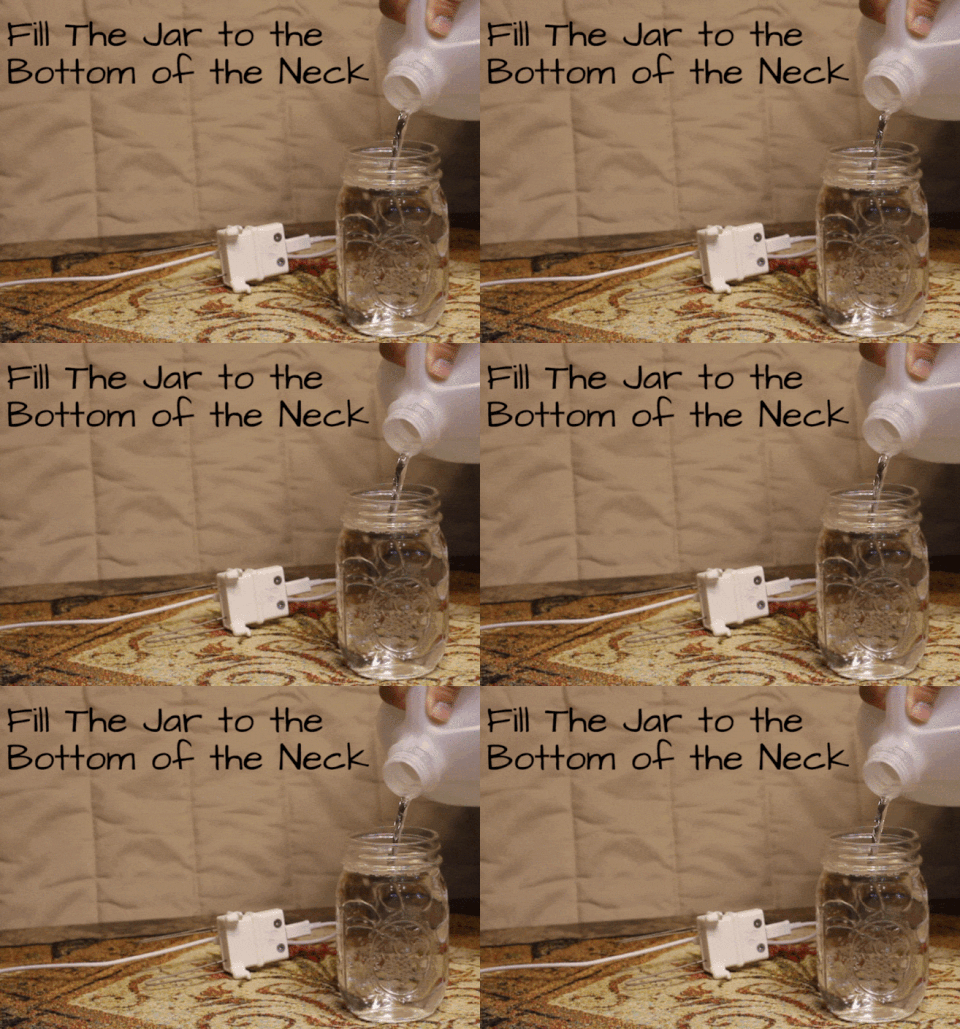
If you look at the image above, you will see there is a glass ridge between the jar and the threaded neck. That is the proper level to fill the jar.
Notice also that while the jar is being filled, the proton and its saddle are lying, properly assembled together, on the table behind the jar. It is very important to keep the proton itself dry. Only the silver wires should ever come in contact with the water.
Proper water level in the Mason jar.
Please pay very careful attention to the water level in the jar and to the way that the proton rests in the top of the jar, well above the water level. The illustration to the right indicates (with a red line) the proper fill level at the base of the neck of the jar.
Another way to be sure that you have achieved the proper fill level is to measure 16 ounces of water with a measuring cup and add it to the jar.
Historically, 90% of all proton failures have been due to improperly mounting the proton and getting the case wet as a result. If the proton case gets wet, the circuit board may become damaged, voiding the proton warranty.
But, please don’t stress over this; if you set up your proton as shown here, you’ll never have that problem.
Place the proton in the Mason jar.
Please look closely at the photo below.